Review Planner
DQS Review Planner is a structured way to create risk-based review plans for your studies that facilitates your adoption of risk-based data management. In the Review Planner, you can define Targets and configure Reviews to monitor and mitigate clinical risk. You can establish direct operational traceability from high-level trial targets, such as primary safety endpoints, to individual checks, listings, and metrics. The Review Planner ensures data review aligns with data criticality by providing review frequencies for data managers and medical reviewers in the Review Dashboard for daily prioritization.
Accessing the Review Planner
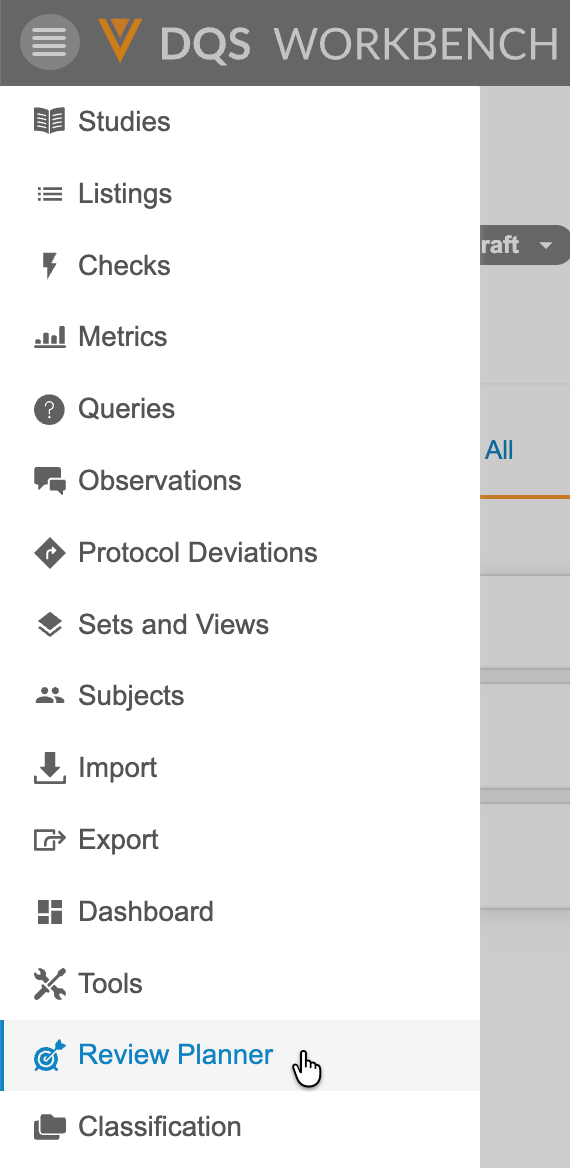
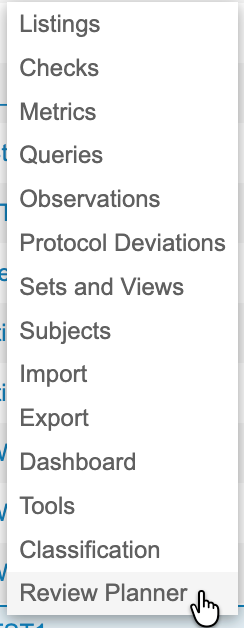
You can navigate to the Review Planner page from the Navigation Drawer after you select your Study, or the Study menu on the Studies page.
|
|
Navigating the Review Planner
From the Review Planner you can create and view Targets and Reviews for your study.
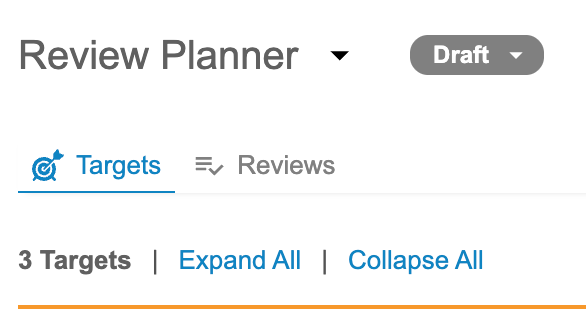
Upon opening the Targets or Reviews tab in the Review Planner area, all the targets and reviews are collapsed. You can click Expand All to display all the associated information for all the targets or reviews on the page, or you can click each one individually to expand it.

Creating a Review Plan
Your study’s review plan must be created in a test environment before it can be approved and deployed to production. Creating a review plan involves configuring Targets to monitor clinical risks and Reviews to define the execution of mitigation strategy.
Managing Targets
Targets track critical goals for your trial. You can select the following Target Types for the Target:
- Endpoint
- Safety Signal
- Data Quality
- Compliance
The Targets tab displays a list of the Targets configured for your study, including any description and their Type, Level (for Endpoint targets), Purpose (for Endpoint targets), and any associated Critical Data.

Creating Targets
To create a Target:
- Navigate to the Targets tab in the Review Planner area.
-
On the upper right of the page, click Add Target. The New Target step-based builder opens.

-
In the Definition step of the New Target builder, select a Target Type.
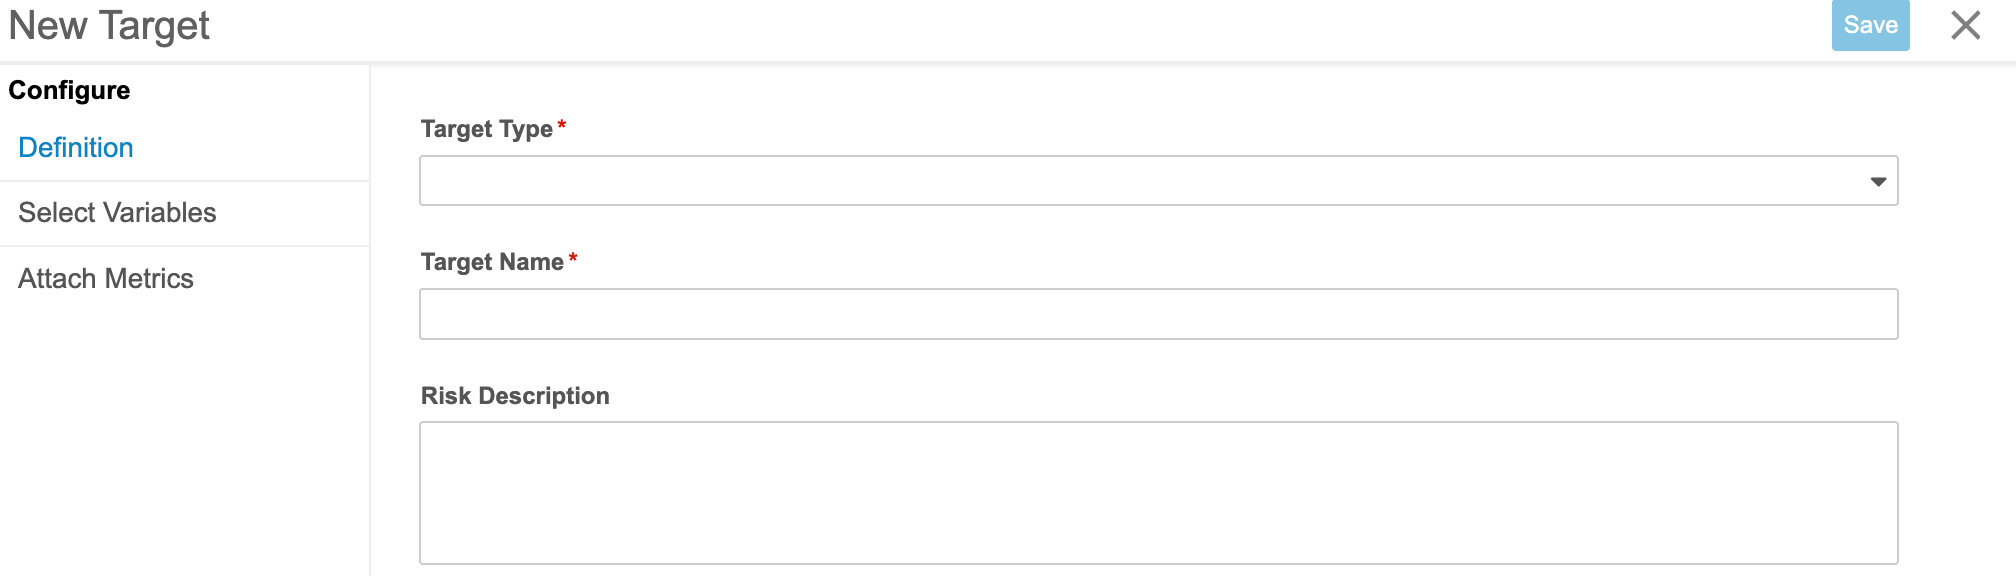
- Enter a Target Name.
-
Optional: If you selected the Endpoint Target Type, select a Level and Purpose.

- Optional: Enter a Risk Description.
- In the steps side-bar on the left, click Select Variables to proceed to the next step.
-
In the Select Variables step, click and drag Available Variables to move them to the Selected Variables list. You can also Search variables.
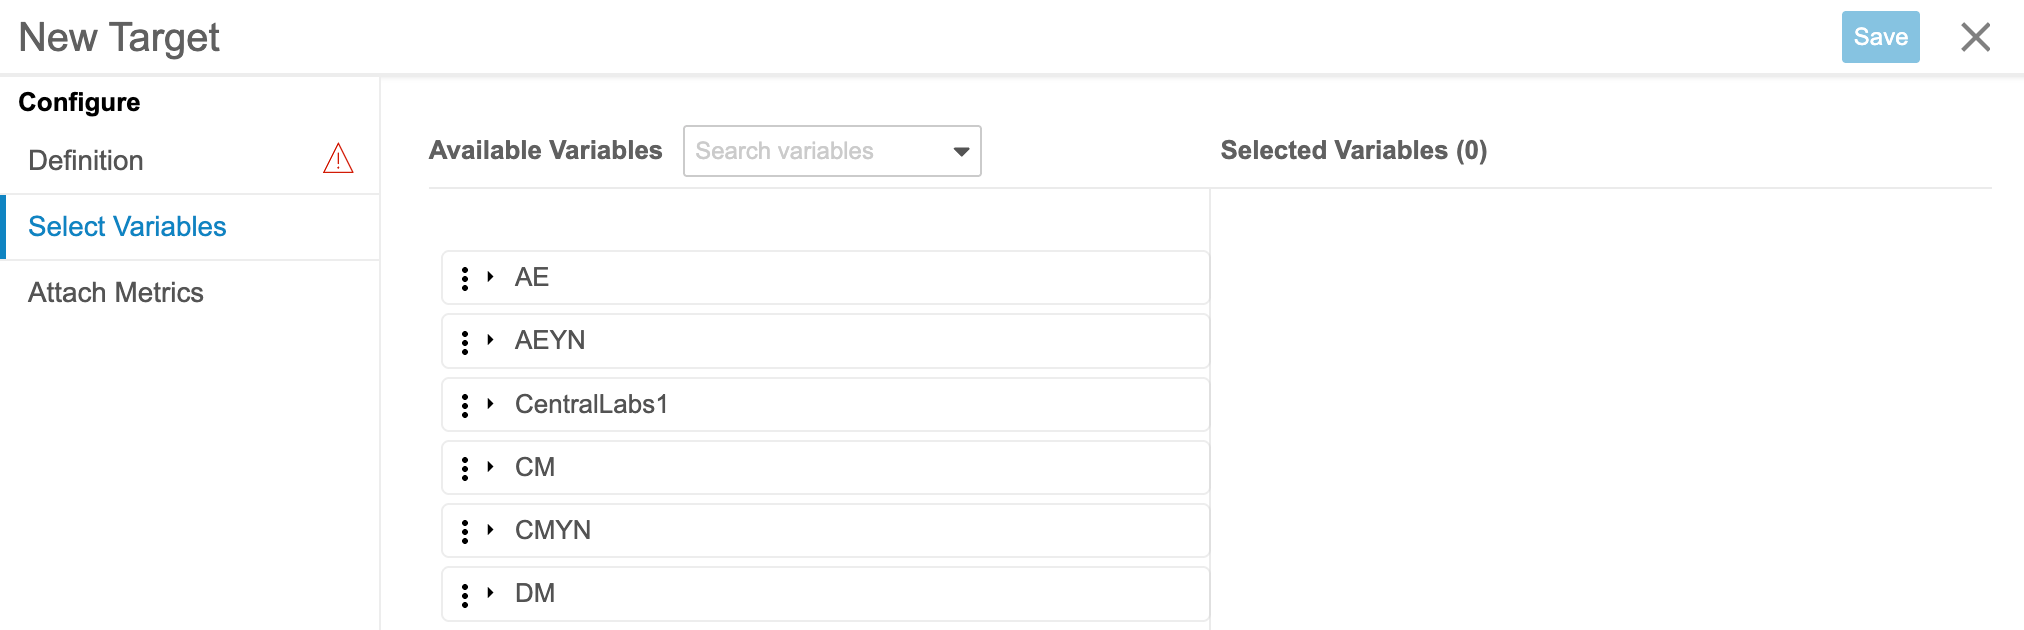
- In the steps side-bar on the left, click Attach Metrics to proceed to the next step.
-
Search and click metrics to add Available Metrics to the Selected Metrics list.

- Click Save.
Editing Targets
To edit a Target:
- Navigate to the Targets tab in the Review Planner area.
-
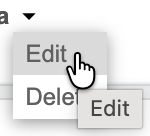
From the Menu (), click Edit. The step-based Target builder opens.
- Make your changes.
- Click Save.
Deleting Targets
To delete a Target:
- Navigate to the Targets tab in the Review Planner area.
- From the Menu (), click Delete. The Target is deleted.
Managing Reviews
The Reviews tab displays the Review Objectives configured for your study, including any description, the associated Target, and any associated Critical Data points.

In the Reviews tab, you can define operational review objectives complete with mitigations and review frequencies. Assigned role information, which is inherited from the Listing Access permissions for any review listings added to review plans as mitigations, are displayed in the Assigned Role column as part of the Review information. For Checks, System is displayed.

Creating Reviews
To create a Review:
-
Click Add Review.

-
In the New Review step-based builder, enter an Objective Name.
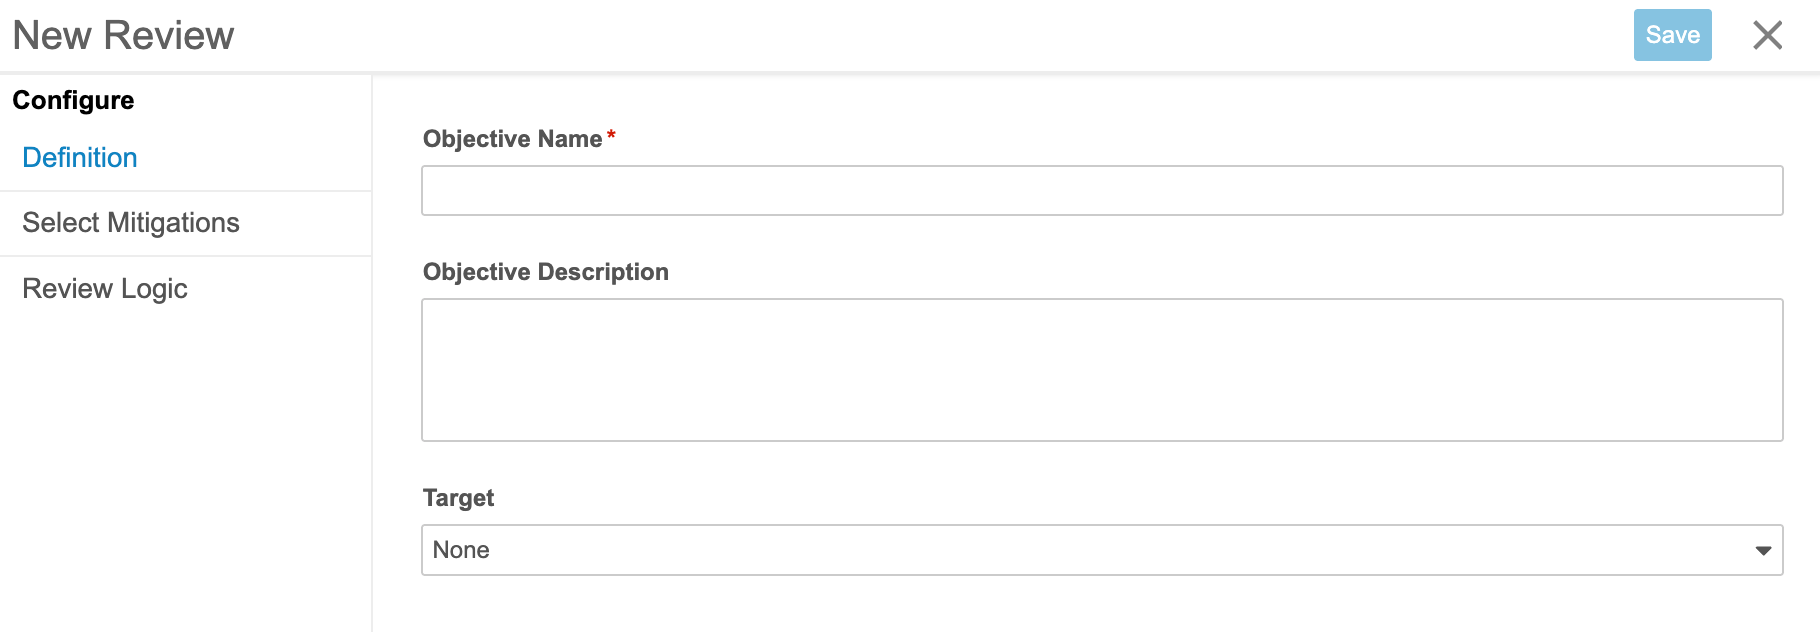
- Optional: Enter an Objective Description.
- Optional: Select a Target to associate with this Review.
-
Optional: In the steps side-bar on the left, click Select Mitigations to proceed to the next step.
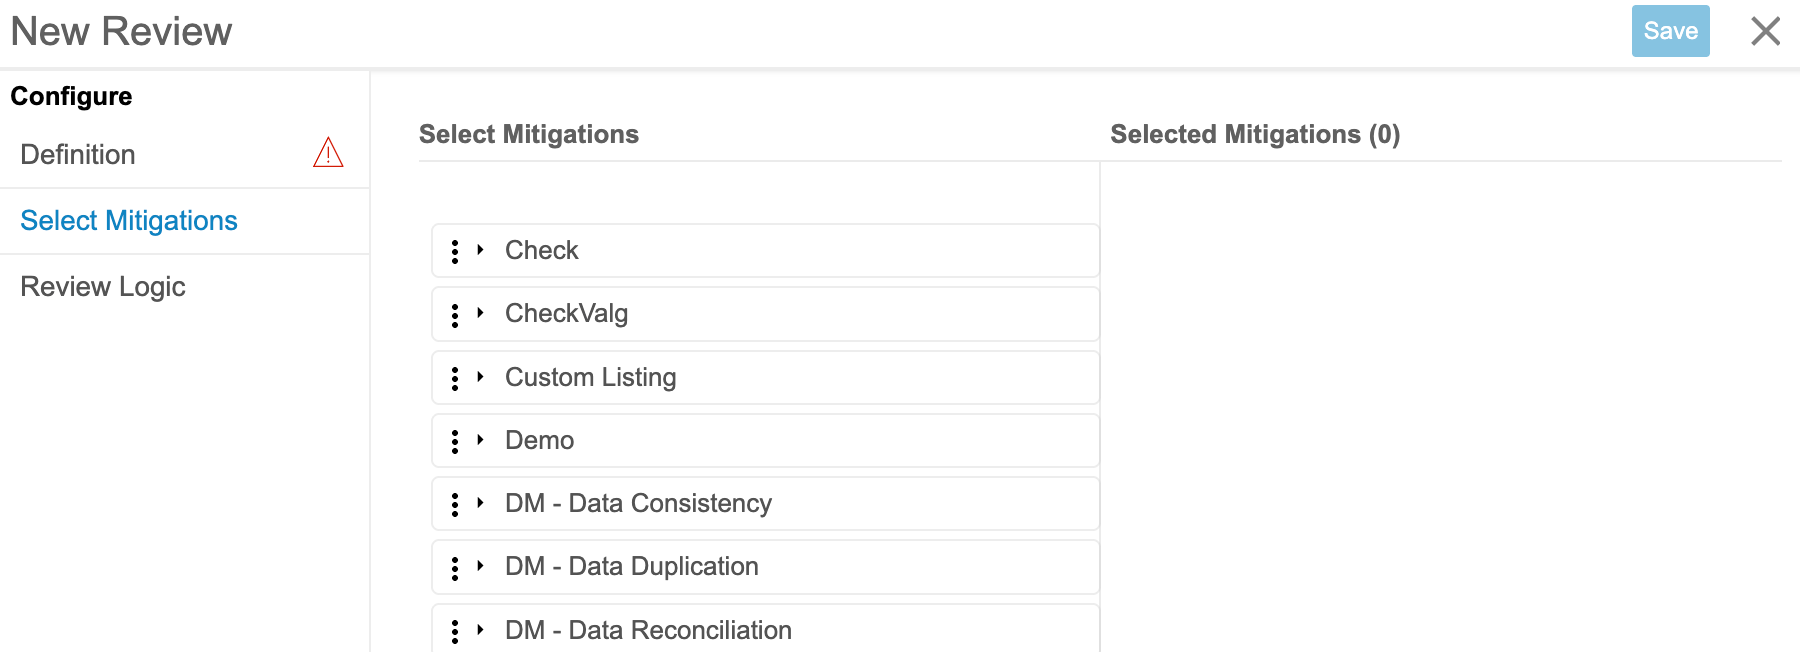
- Optional: In the Select Mitigations step, click and drag mitigations from the Select Mitigations list to the Selected Mitigations list.
- Optional: In the steps side-bar on the left, click Review Logic to proceed to the next step.
-
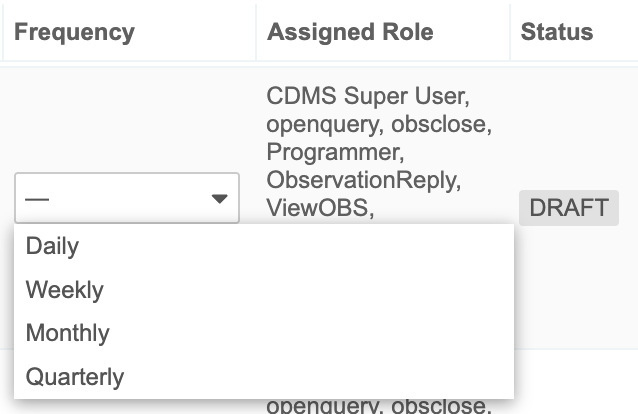
Assign a Frequency to any selected review listings. You can also review the Type, Name, Action, Listing Objective, Frequency, Assigned Role, and Status of the selected mitigation.
- Click Save.
Editing Reviews
To edit a Review:
- Navigate to the Reviews tab in the Review Planner area.
-
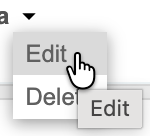
From the Menu (), click Edit. The step-based Review builder opens.
- Make your changes.
- Click Save.
Deleting Reviews
To delete a Review:
- Navigate to the Reviews tab in the Review Planner area.
- From the Menu (), click Delete. The Review is deleted.
Downloading Review Plans
You can download the Review Plan as a CSV file. DQS names the file “Review Plan
To download your review plan:
- Navigate to the Review Planner area for your study.
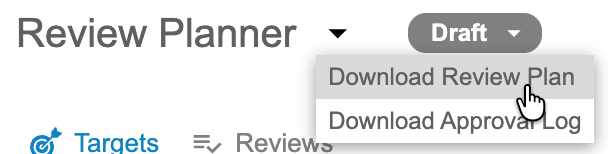
- From the Review Planner () menu, select Download Review Plan.
Approving and Deploying Review Plans
Review Plans follow a formal approval and deployment workflow. The review plan must be approved from any of the test environments for the study before a user with deployment permissions can deploy it to production. Review plans are read-only in production environments. Deployment to production automatically sets the review frequencies, displayed in the Review Dashboard, for any review listings configured as mitigations that are also in production.
After the review plan has been approved and deployed, it becomes read only. Any further updates must be completed in the test environment, and redeployed.
Approving Review Plans
To deploy your review plan, it must be in the Approved status. The recommended workflow is to move the review plan from Draft to Ready for Approval when it is finished, then to move it from Ready to Approval to Approved when review is finished and the review plan is ready for deployment to production.
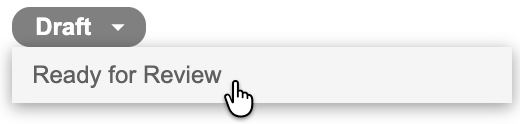
To move the review plan from Draft to Ready for Review status:
- In your test environment, navigate to the Review Planner.
-
From the Status menu, select Ready for Review.
-
Optional: Enter a Reason.
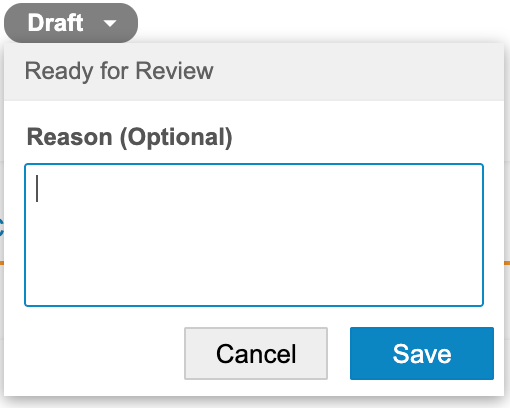
- Click Save.
- The Ready for Review dialog displays. Click Save.
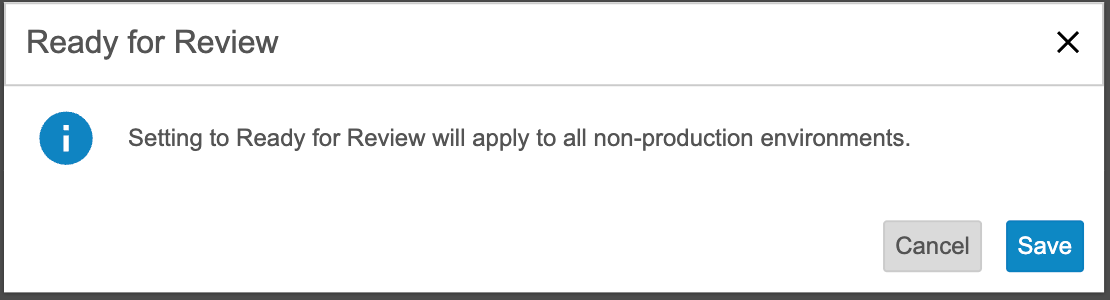
The Review Plan is now in the Approval workflow. This status change applies to all non-production environments.
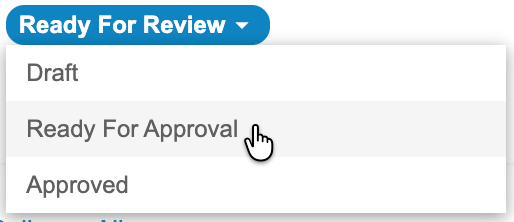
To move the review plan from Ready for Review to Ready for Approval status:
- In your test environment, navigate to the Review Planner.
-
From the Status menu, select Ready for Approval.
-
Optional: Enter a Reason.
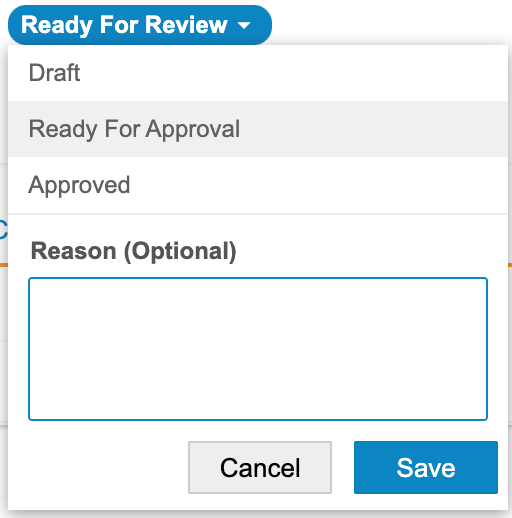
- Click Save.
To move the review plan from Ready for Approval to Approved:
- In your test environment, navigate to the Review Planner.
-
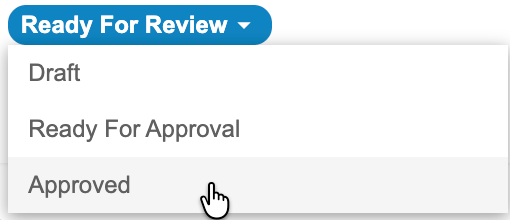
From the Status menu, select Approved.
-
Optional: Enter a Reason.
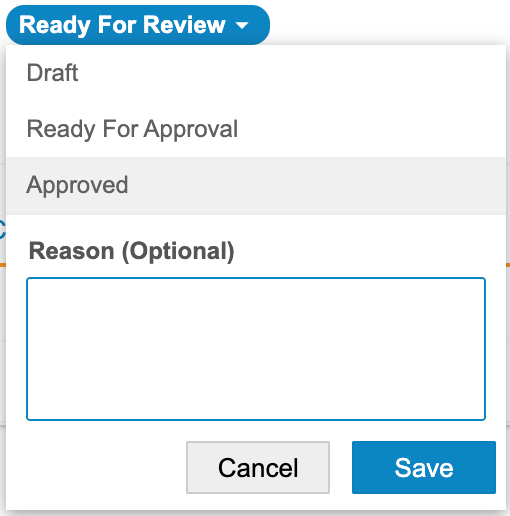
- Click Save.
Approval Logs
Workbench keeps a log of changes your review plan’s’s approval status.
To download the approval log:
- In your test environment, navigate to the Review Planner.
-
From the object Review Plan menu (), select Download Approval Logs.
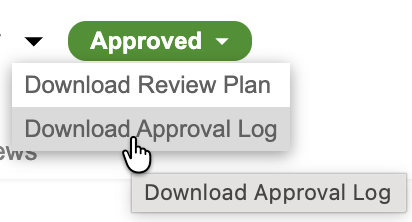
- DQS generates the CSV file.
Deploying Review Plans
To deploy your review plan:
-
Complete the Approval Workflow for the review plan.
-
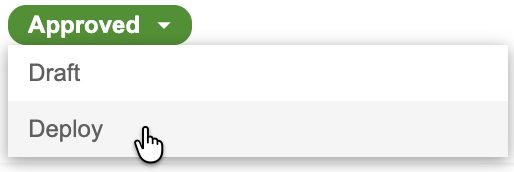
From the Status menu, click Deploy.